
How to Create an Offer in Coupon Reach (Step-by-Step Guide)
How to Create an Offer in Coupon Reach (Step-by-Step Guide)
Creating compelling offers is the backbone of successful campaigns inside Coupon Reach. Whether you're running directory promotions, birthday campaigns, or anniversary giveaways, offers are what your subscribers actually engage with and redeem.
In this guide, we’ll walk you step-by-step through how to build and optimize an offer inside Coupon Reach.
What Is an Offer in Coupon Reach?
An offer is what your subscribers select as a reward—like a birthday gift or promotional giveaway. Each offer is tied to a coupon, which is what gets redeemed.
Offers are used across:
Directory campaigns
Birthday campaigns
Anniversary campaigns
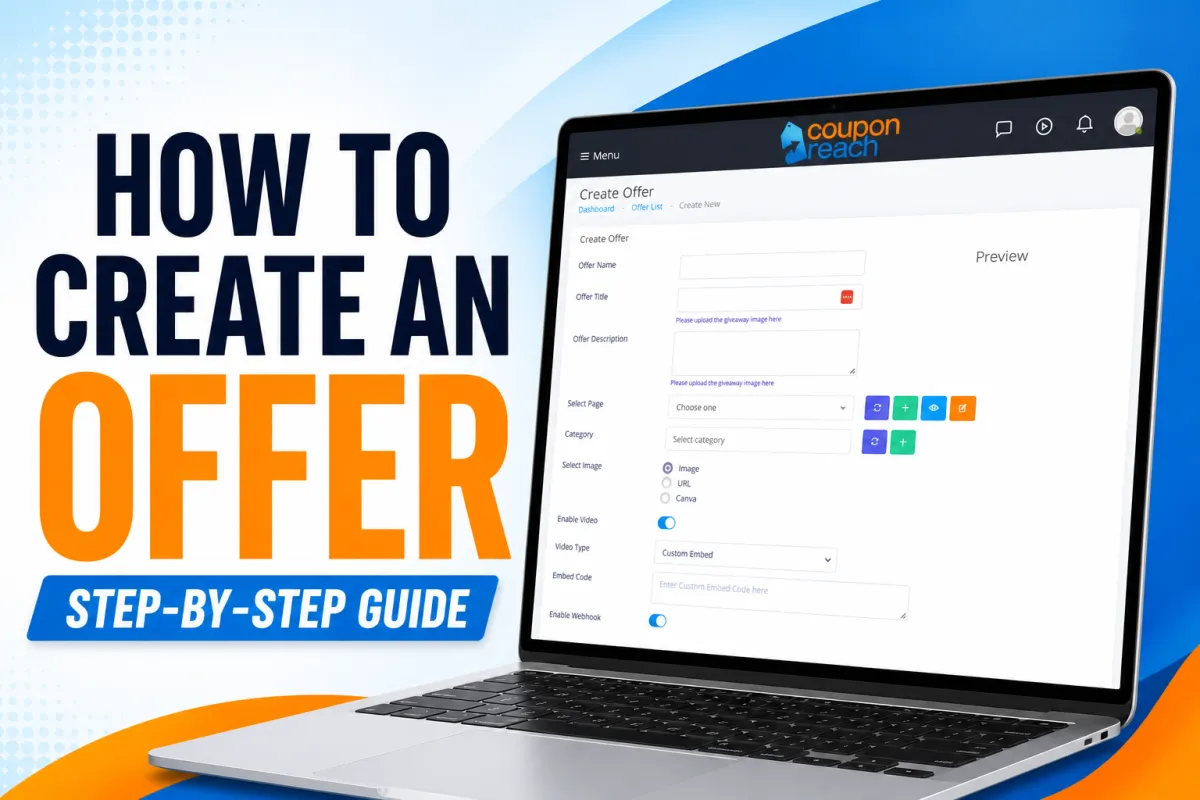
Step 1: Create a New Offer
To get started:
Navigate to the Offers menu

Click “New Offer”

This opens the Offer Builder, where everything is configured.

Step 2: Name Your Offer
Start by giving your offer a clear, simple name.

This helps you:
Stay organized internally
Quickly identify offers inside campaigns
Step 3: Attach a Page
Every offer must be connected to a page.

This is what:
The subscriber redeems
Tracks usage and conversions
Note: Pages are created separately, so make sure you’ve already set one up.
Step 4: Assign Categories (Optional)
Categories help organize your offers for better user experience.

Examples:
Food
Services
Retail
You can assign multiple categories to a single offer, making it easier for subscribers to browse and filter.
Step 5: Add Visual Content (Images or Video)
Add an Image
Upload an image or use an image URL. This is what users will see on the offers page.

Add a Video (Optional)
You can also use video instead of static images.

Available options:
Custom Embed
YouTube
Vimeo
Features include:
Video preview
Autoplay
Loop playback
Step 6: Enable Webhooks & Integrations
You can forward subscribers who claim an offer into other systems using webhooks.

Step 7: Add Social Sharing (Meta Information)

To make your offers shareable on Facebook, add:
Title
Description
Image
Once done:
Go to your offers list
Click the gear icon
Select “Share Offer”
Copy the URL and post it
Note: Sharing is only available for offers connected to a campaign.
Step 8: Set Offer Expiration
You can control how long an offer is valid by setting:
A specific date
A number of days
This creates urgency and helps drive faster action.

Step 9: Configure Renewable Offers
Want subscribers to claim an offer more than once?
Enable Renewable Offers, then set:
Refresh Period (how long before they can claim again)
Redemption Limit (how many times they can claim)
Example:
10 claims allowed every 24 hours
Add a Countdown Timer
To improve engagement, enable the countdown timer.
This shows subscribers exactly when they can claim the offer again.

Step 10: Set Up Offer Messages
This is where automation really shines.
You can configure four types of messages:
1. Reminder Messages

Sent before the offer expires.
Example:
24 hours before expiration
You can include:
Coupon expiration date
Direct redemption link
2. Follow-Up Messages

Sent after the offer expires.
Example:
24 hours after expiration
Great for:
Re-engagement
Promoting new offers
3. Conditional Redemption Messages
Triggered based on user behavior.
Coupon Redeemed
Send immediately or after a delay

Coupon Not Redeemed
Send if the offer expires unused

This helps you:
Reward action
Recover missed opportunities
4. Offer Notifications
Get notified every time someone claims an offer.
Add multiple recipients
Great for advertisers or internal tracking

Creating an offer in Coupon Reach isn’t just about setting up a coupon—it’s about building a complete experience.
When done right, your offers can:
Drive engagement
Increase redemptions
Automate follow-up
Generate consistent results
Take the time to fully configure each section, especially messaging and renewal settings. That’s where the real leverage comes from.
Interested in adding CouponReach to your arsenal?
Learn More HERE.
